Snowflake
This page explains how to connect Snowflake as a data source to Pocus.
Connect your Snowflake data warehouse to Pocus to start pulling in product usage data and more. Pocus connects to your Snowflake database through a provisioned read-only user. The following instructions outline how to configure that access. The scope of schema, tables, and views included for that user are workspace-dependent. Reach out to your Pocus support team for additional questions or possible alternatives.
Creating a Pocus user in Snowflake
We'll need to create a new user in Snowflake for Pocus to use. You will need administrator permissions on Snowflake to run these commands.
We recommend using the following commands to create a read-only user for Pocus (in the below order, one command at a time as separated by comments). Note that you will have to replace the following values:
<database>should be replaced with the name of your Snowflake database<warehouse_name>should be replaced with the name of the Snowflake warehouse that Pocus should use<rsa public key>should be replaced with a public key that will be used for the Pocus integration user. You can generate a public key by following the instructions here.. You will need the private key later in the guide.
By default, these commands give our read-only user access to all data in the database. Optionally, you can modify the GRANT statements to limit the scope of Pocus permissions.
-- Change role to ACCOUNTADMIN so that we can create new accounts
use role ACCOUNTADMIN;

-- Create a new role for Pocus
create role if not exists pocus_read_only_svc_rl comment='This role is used by the pocus data collector to run queries';

-- Allow users with the SYSADMIN role to modify the Pocus role
grant role pocus_read_only_svc_rl to role SYSADMIN;

-- Grant the Pocus role read-only database permissions
grant usage on database <database> to role pocus_read_only_svc_rl;
grant usage on all schemas in database <database> to role pocus_read_only_svc_rl;
grant usage on future schemas in database <database> to role pocus_read_only_svc_rl;
grant select on all tables in database <database> to role pocus_read_only_svc_rl;
grant select on future tables in database <database> to role pocus_read_only_svc_rl;
grant select on all views in database <database> to role pocus_read_only_svc_rl;
grant select on future views in database <database> to role pocus_read_only_svc_rl;

-- Grant warehouse usage access to the Pocus role
grant usage on warehouse <warehouse_name> to role pocus_read_only_svc_rl;

-- Create a user for Pocus and add it to the Pocus role
create user if not exists pocus_data_collector_user
rsa_public_key='<rsa public key>'
default_namespace='"<database>"'
default_warehouse='<warehouse_name>'
default_role=pocus_read_only_svc_rl
must_change_password=false;
grant role pocus_read_only_svc_rl to user pocus_data_collector_user
Setting up the Snowflake connection in Pocus
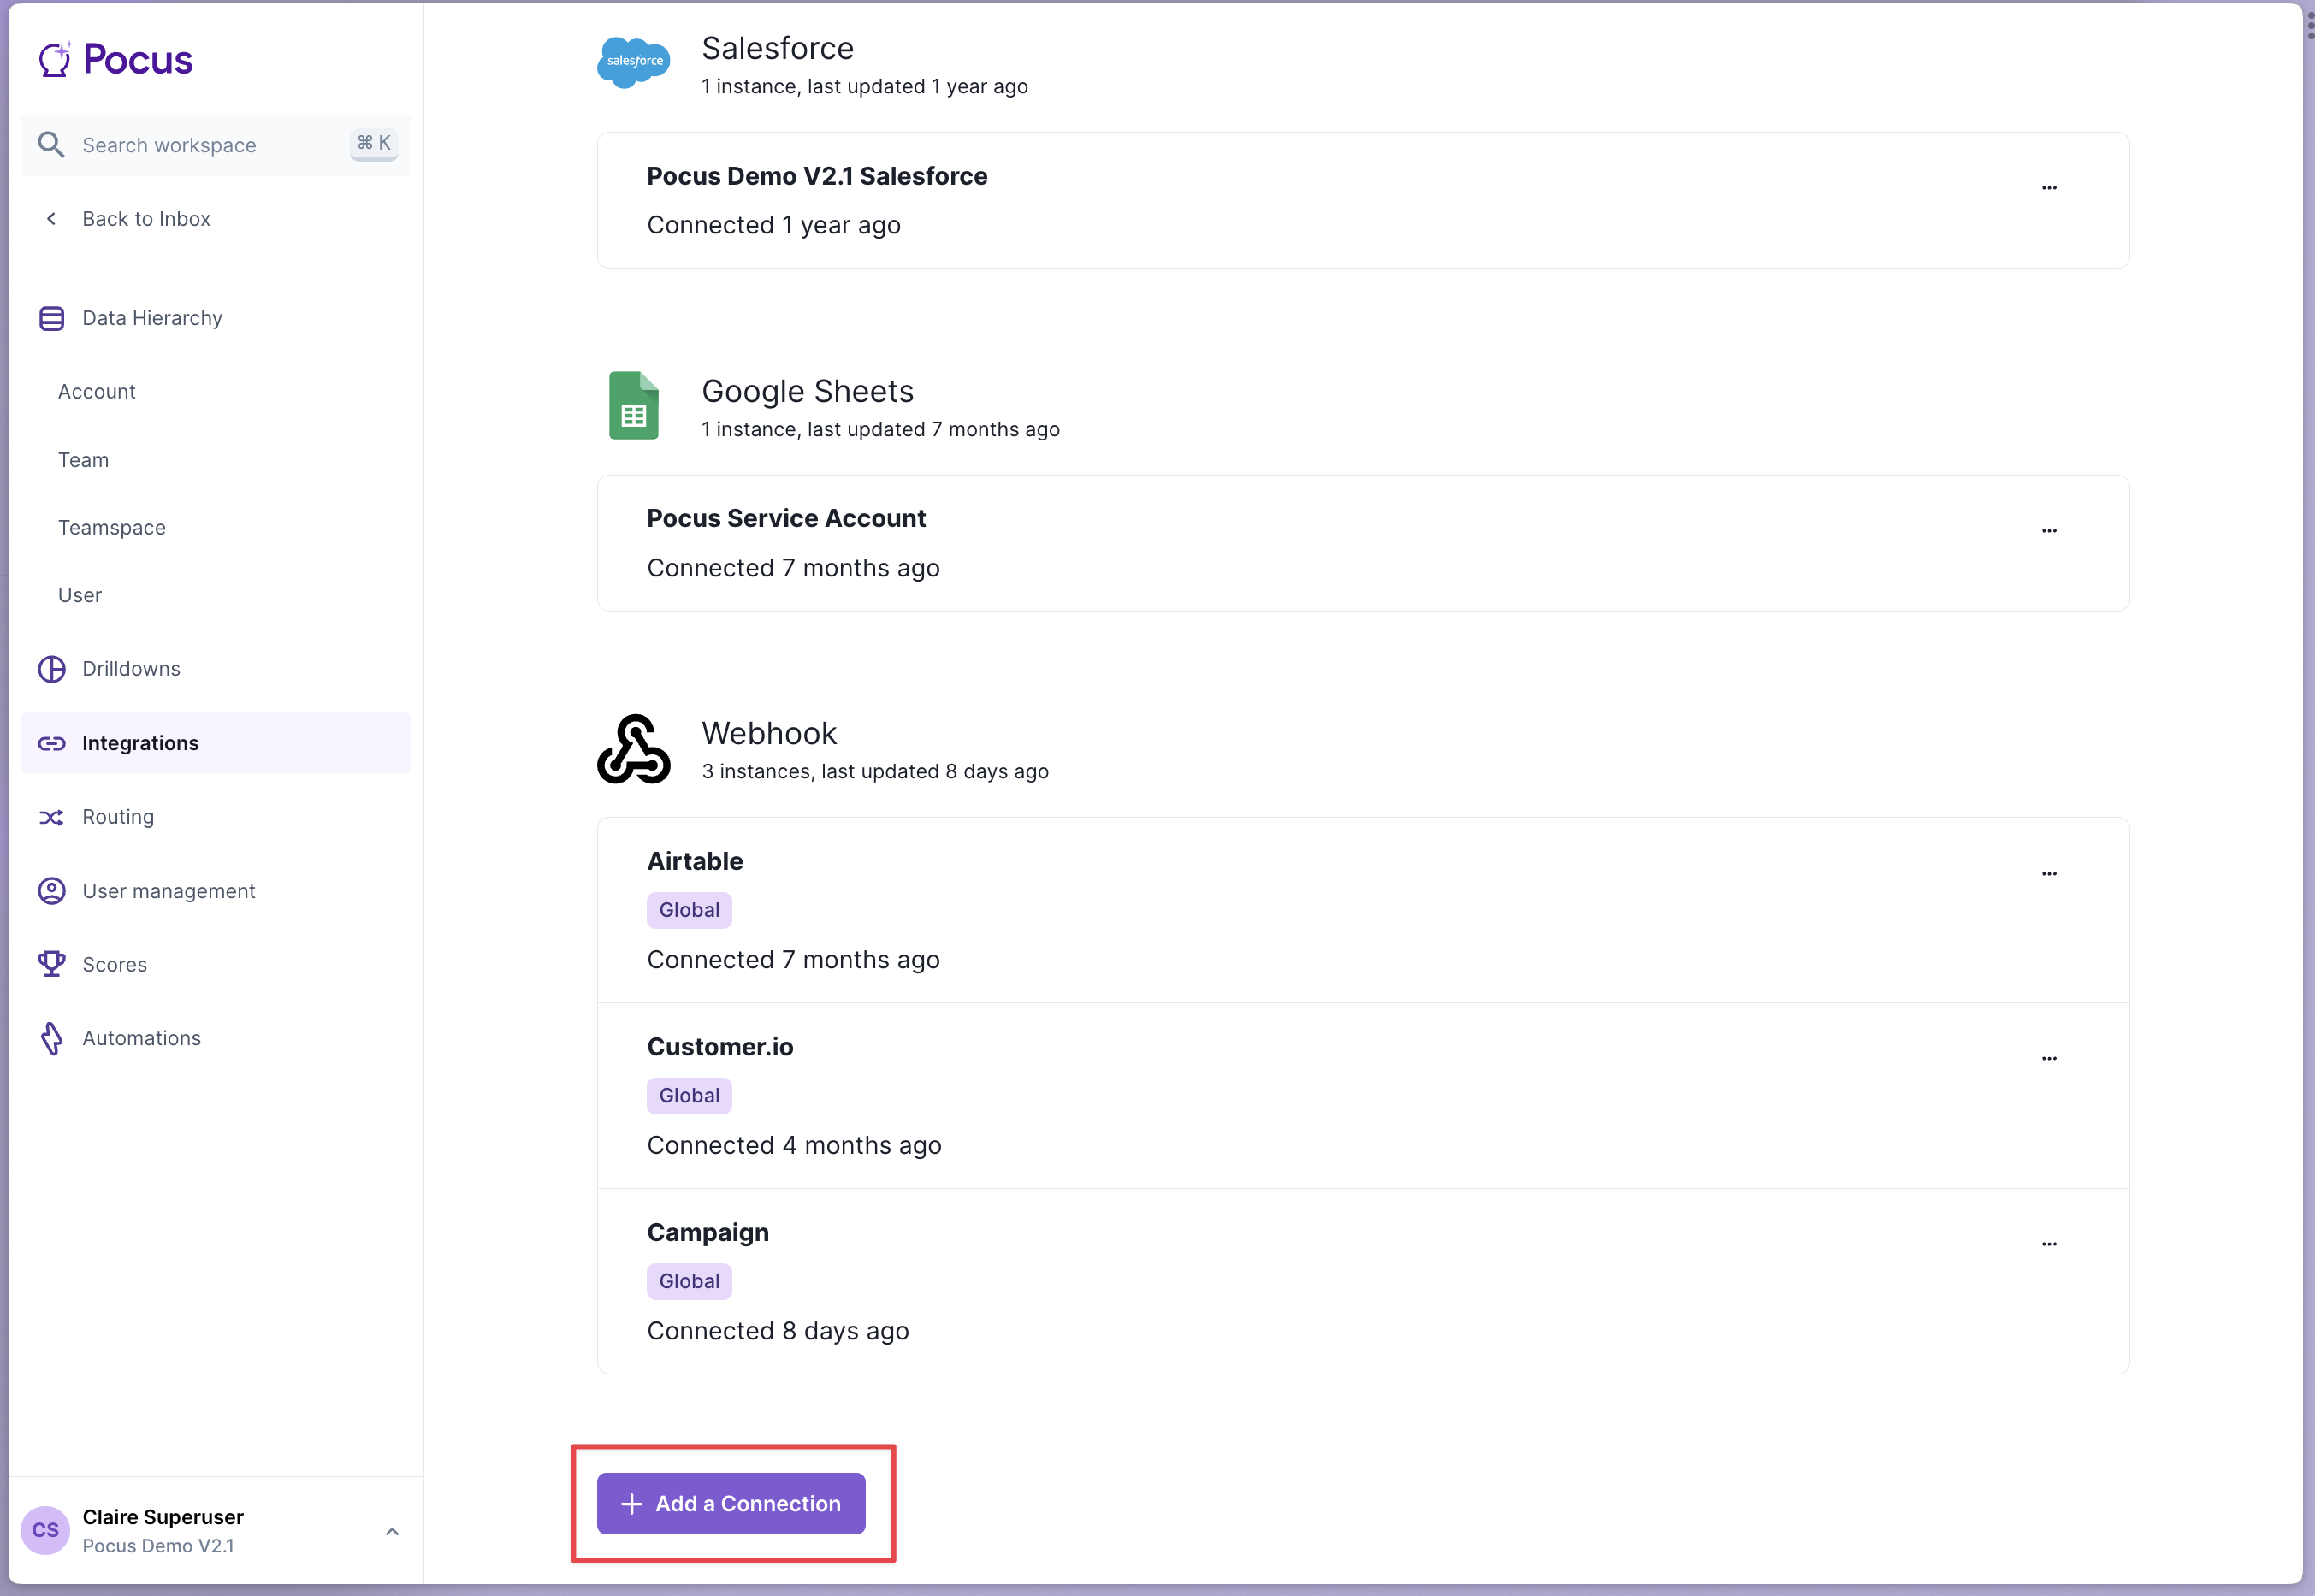
- Navigate to the Pocus Integrations Page and press Add a Connection
- Select the Snowflake connection type and press Next
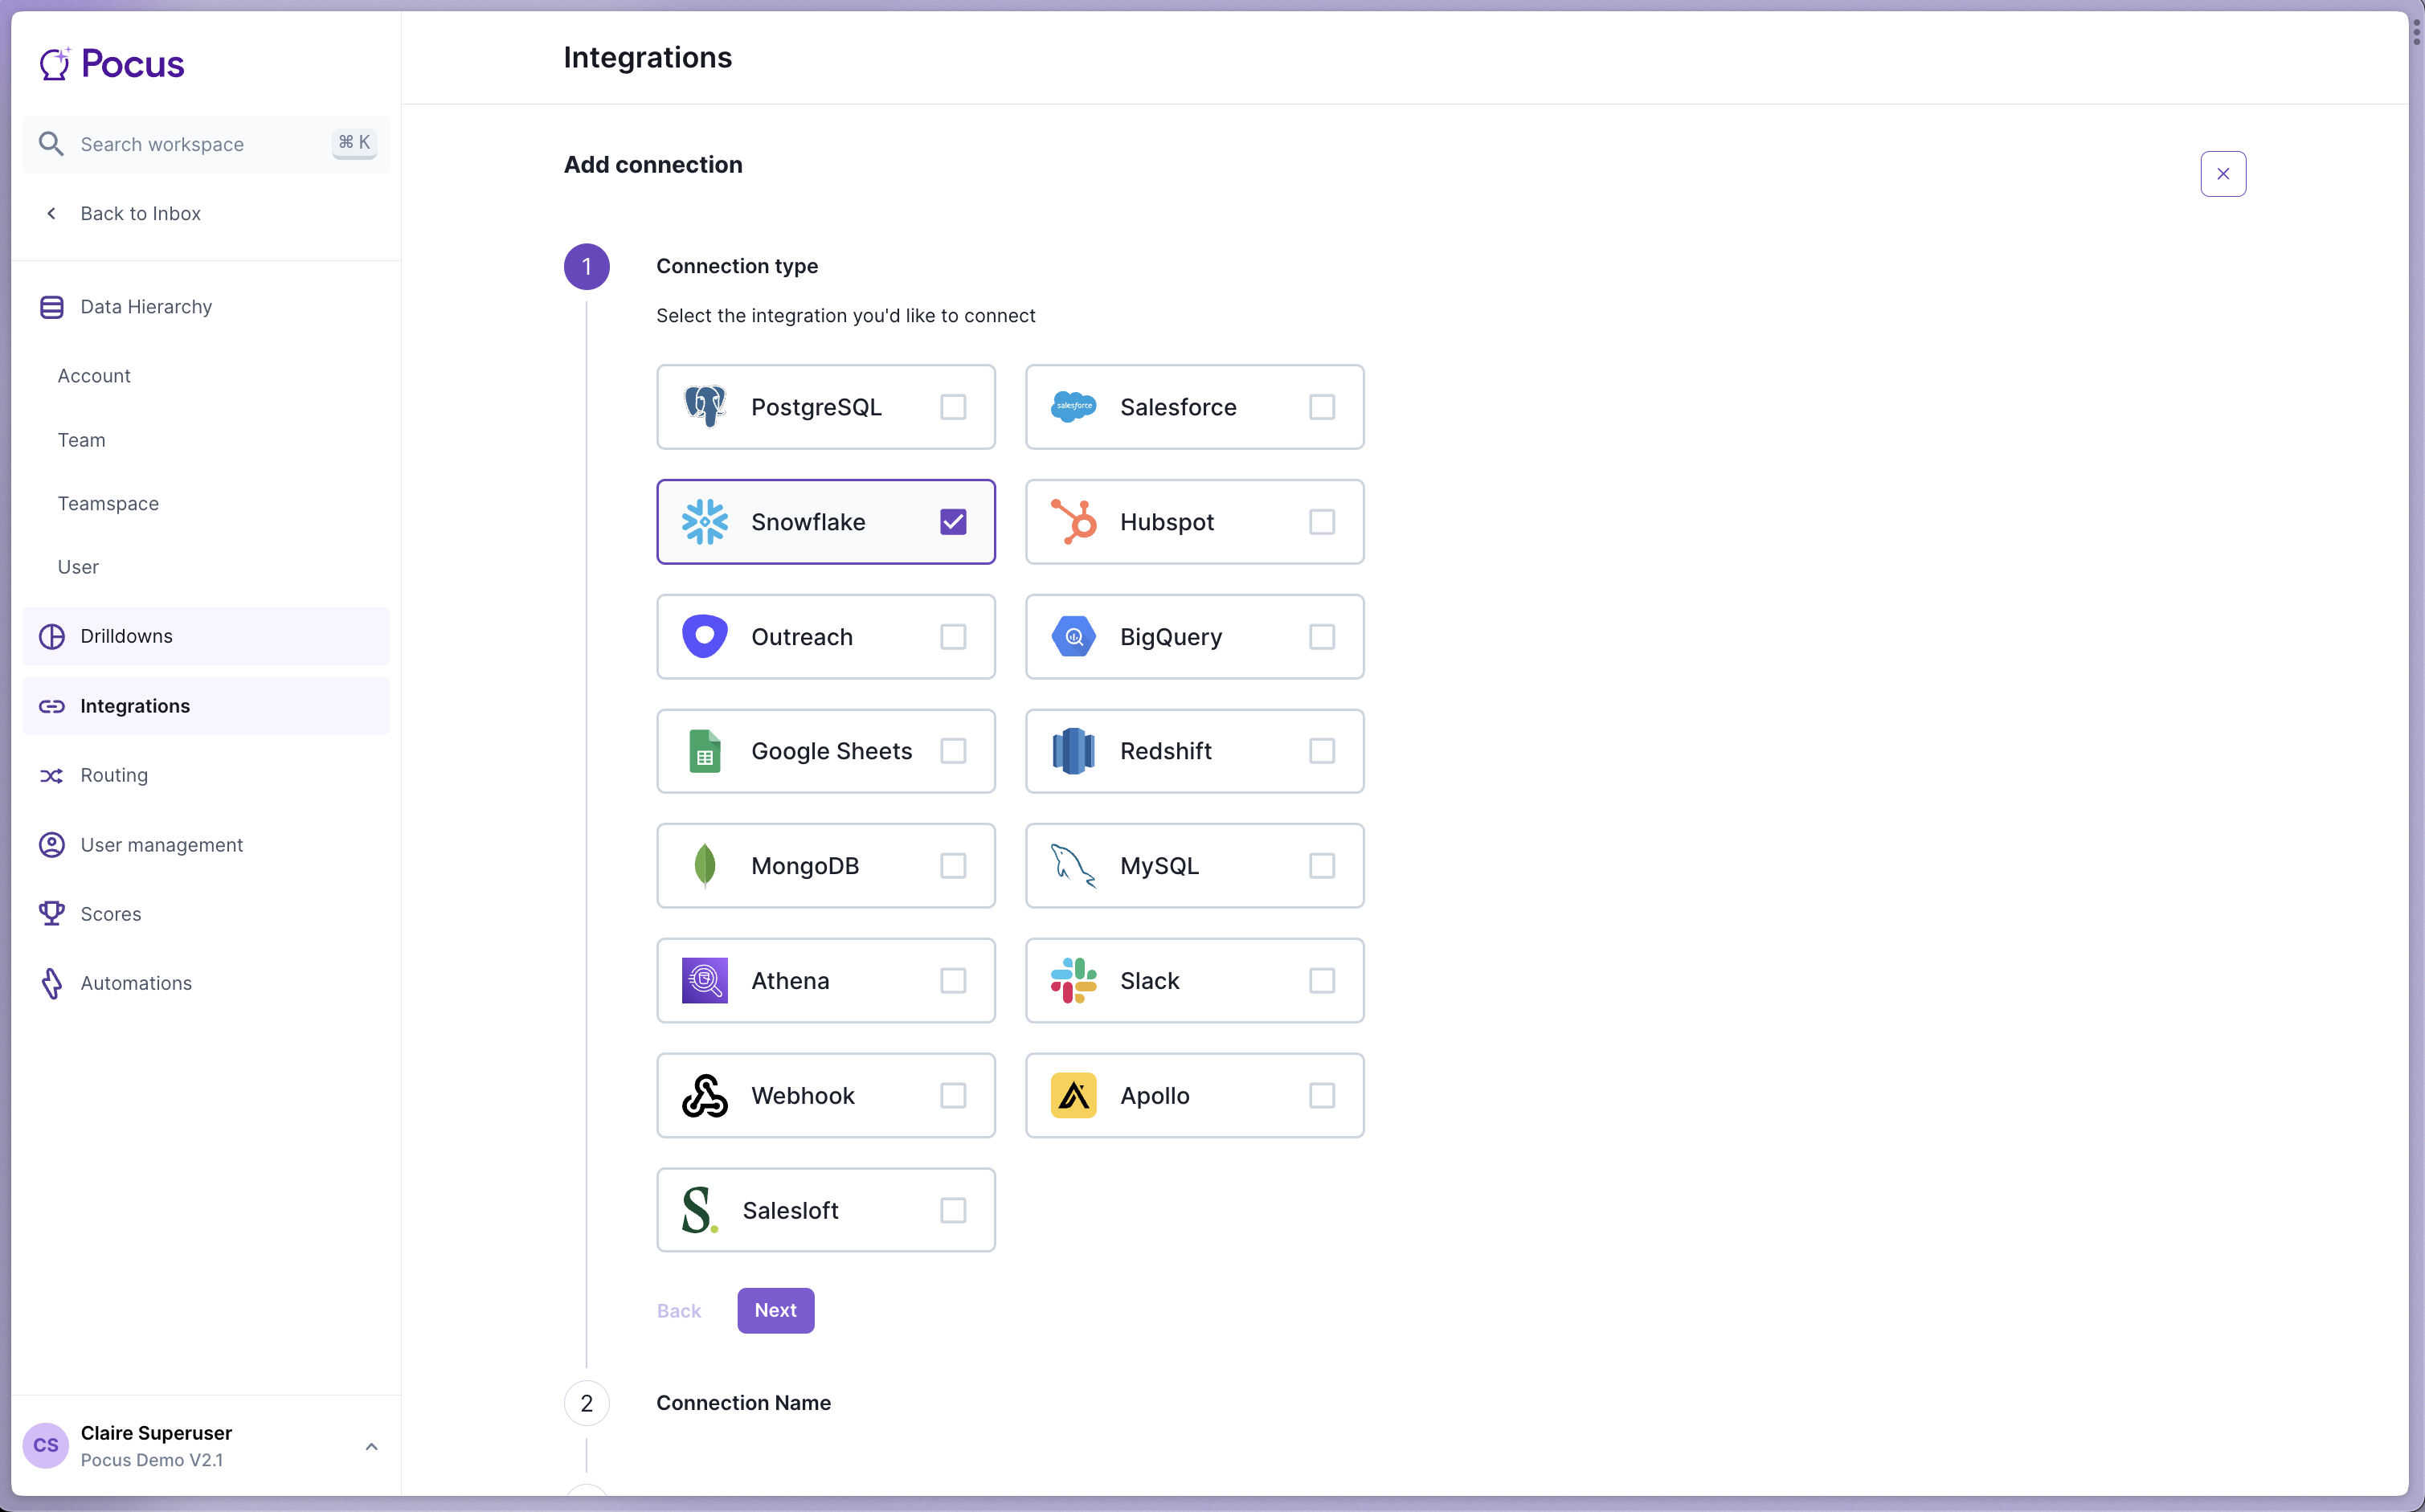
- Enter a name for this Snowflake integration (something like
Snowflakeis fine) and press Next - Enter your Snowflake Account Identifier, Warehouse Name, Username, Role and Private Key for the Snowflake user.
Note:You can find the Snowflake Account Identifier from the URL you see while using Snowflake. It follows the format
<account_identifier>.snowflakecomputing.com. You should not include the.snowflakecomputing.comwhen entering the account identifier in Pocus.
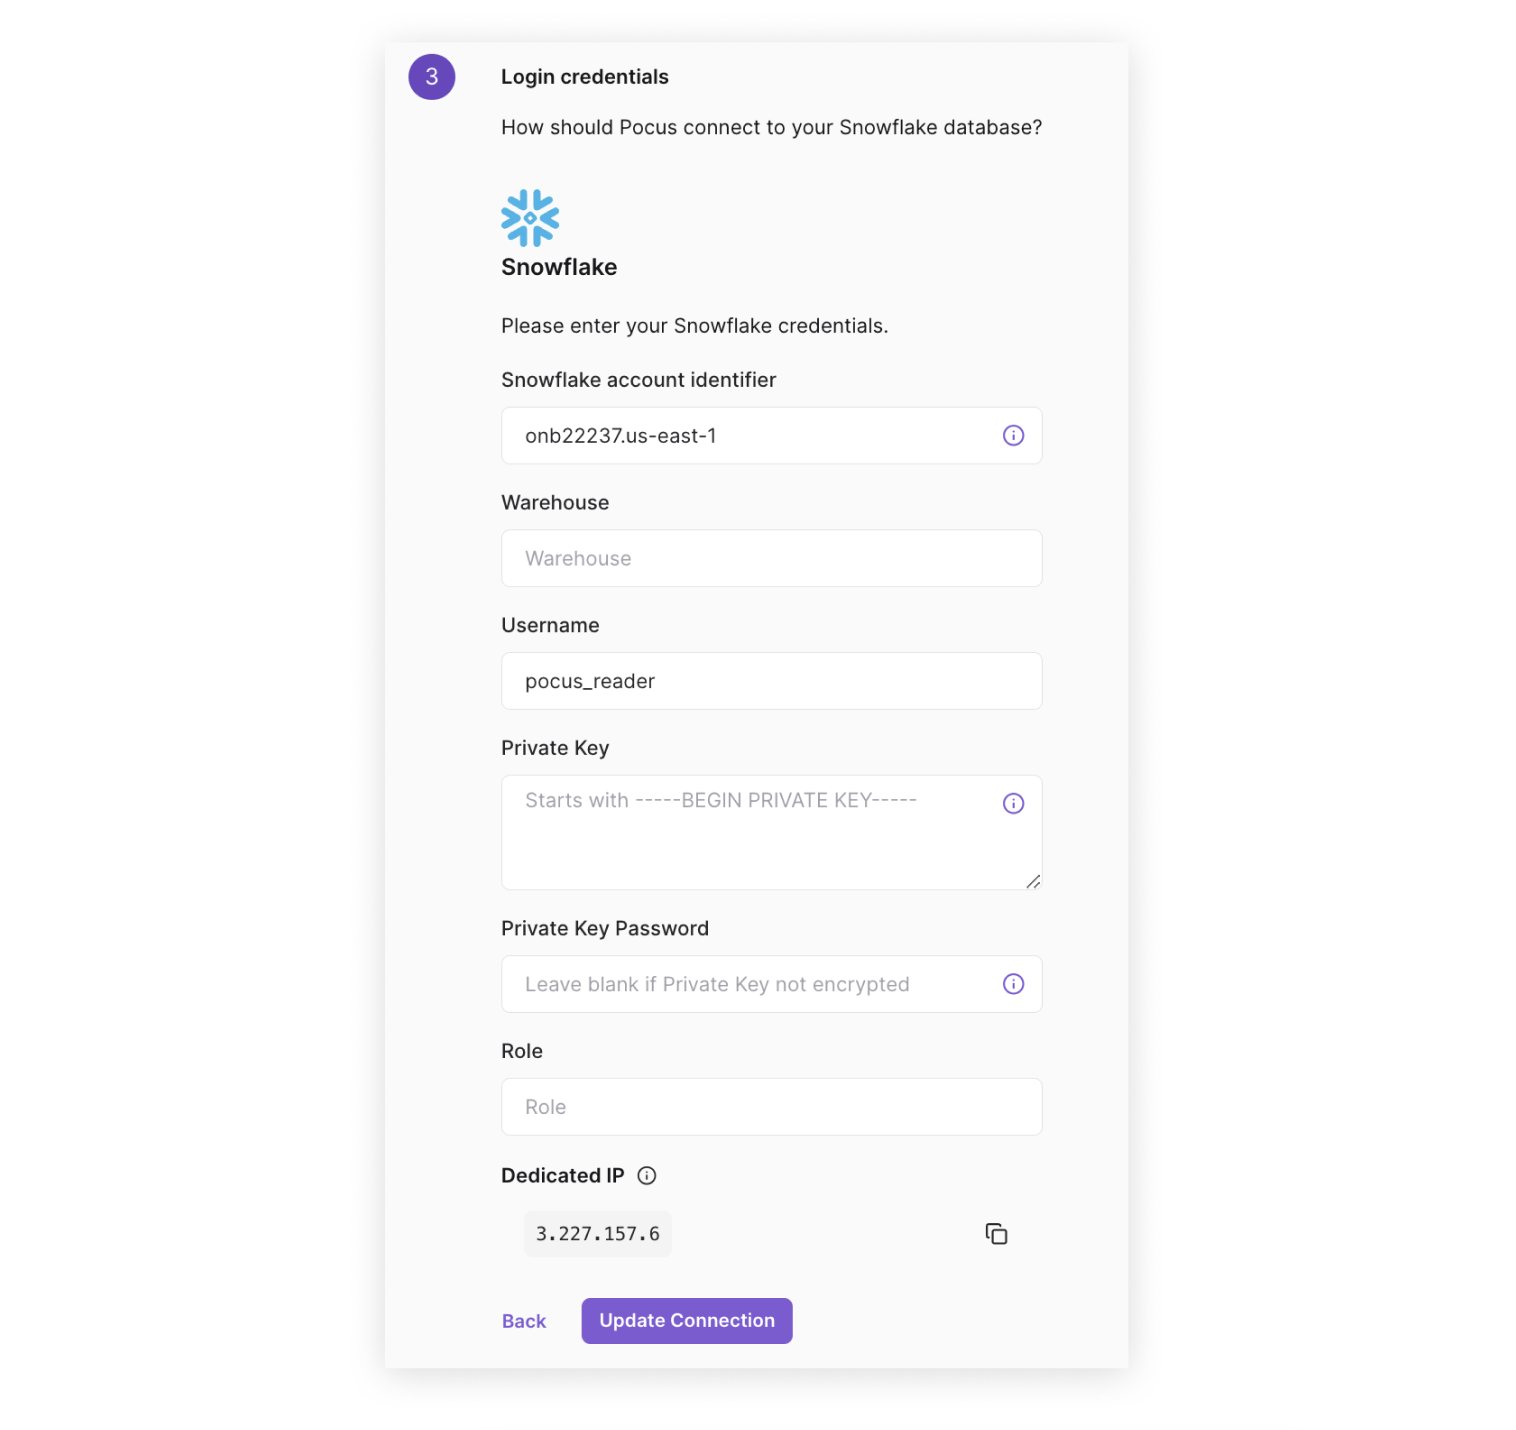
Copying Your Private KeyWhen copying your private key from where you created it to Pocus, ensure you include all of the information generated and no empty white space or new lines around it. This may include a header and footer that look something like -----BEGIN RSA PRIVATE KEY----- and -----END RSA PRIVATE KEY-----
IP WhitelistingThe dedicated IP for your workspace is provided in the credentials form. If required, ensure this IP is whitelisted as all queries will come from this IP.
Validating the Snowflake connection with Pocus
-
Navigate to the Pocus Integrations Page, and press the menu button next to the newly created Snowflake connection
-
Press the Validate button
If the connection with Snowflake is set up correctly, you will see a green notification at the bottom of your screen. If an error appears, please contact our team for assistance!
Migrating your Snowflake user from password to key-pair authentication
In April 2025, Snowflake will begin to block password-based service accounts. Any customer using password authentication for their Snowflake user will need to migrate to key-pair based authentication. To do this:
- Generate a public and private key for your Snowflake user
- Assign the public key to your user in Snowflake:
ALTER USER example_pocus_user SET RSA_PUBLIC_KEY='MIIBIjANBgkqh...';- Edit the existing Snowflake integration on the Pocus integration page with the private key you set.
- Validate the Snowflake connection to ensure the new credentials work properly.