SmartMap Configuration
We will setup a default SmartMap configuration for your workspace, but the settings are customizable!
Define Attempted and Engaged for Activity Map
On the Activity Map, metrics are available to visualize who has been Engaged, Attempted, or is Cold. The Activity Status (Engaged, Attempted, or Cold) is calculated from two traits: Last Engagement Date and Last Attempted Date
| Status | Meaning |
|---|---|
| _ | No data is available for Last Engagement Date and/or Last Activity Date, so status cannot be computed. |
| Engaged | Last Engagement Date is within the last 90 days. |
| Attempted | Last Activity Date is within the last 90 days, but the Last Engagement Date is older than 90 days ago. |
| Cold | Both Last Activity Date and Last Engagement Date are older than 90 days ago**** |
-
Last Attempted Date:
This field defines who has been Attempted in the past 90 days within each department. By default, we use the standard Last Attempted Date in Salesforce or Hubspot.
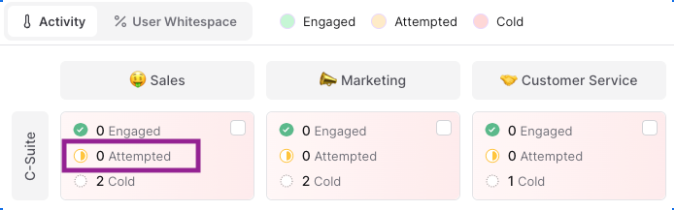
If you use a different field (e.g. Last Sales Engagement Date) to track outreach attempts, you can designate that field to represent the Attempted metric.
To utilize a different field, please see the following steps:
-
Go to Workspace Settings > Data Hierarchy and select the object representing a Person
-
Locate the desired field. Select the pencil icon to the right of the field name to edit the field

-
On the General tab of the field editor, locate the Default Field Type setting. Choose Last Activity Date from the dropdown. Click Save to preserve the changes.

-
-
Last Engagement Date:
This field defines who has been Engaged (i.e. responded or interacted) in the past 90 days within each department - for example attended a meeting or replying to outreach.
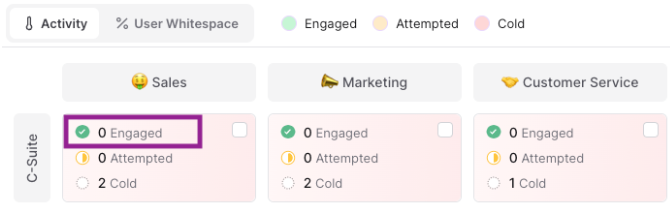
By default, this metric is not shown until you specify how you'd like to define engagement. To designate a field to define the Last Engagement Date:
-
Go to Workspace Settings > Data Hierarchy and select the object representing a Person
-
Locate the desired field. Select the pencil icon to the right of the field name to edit the field
-
On the General tab of the field editor, locate the Default Field Type setting. Choose Last Engagement Date from the dropdown. Click Save to preserve the changes.

-
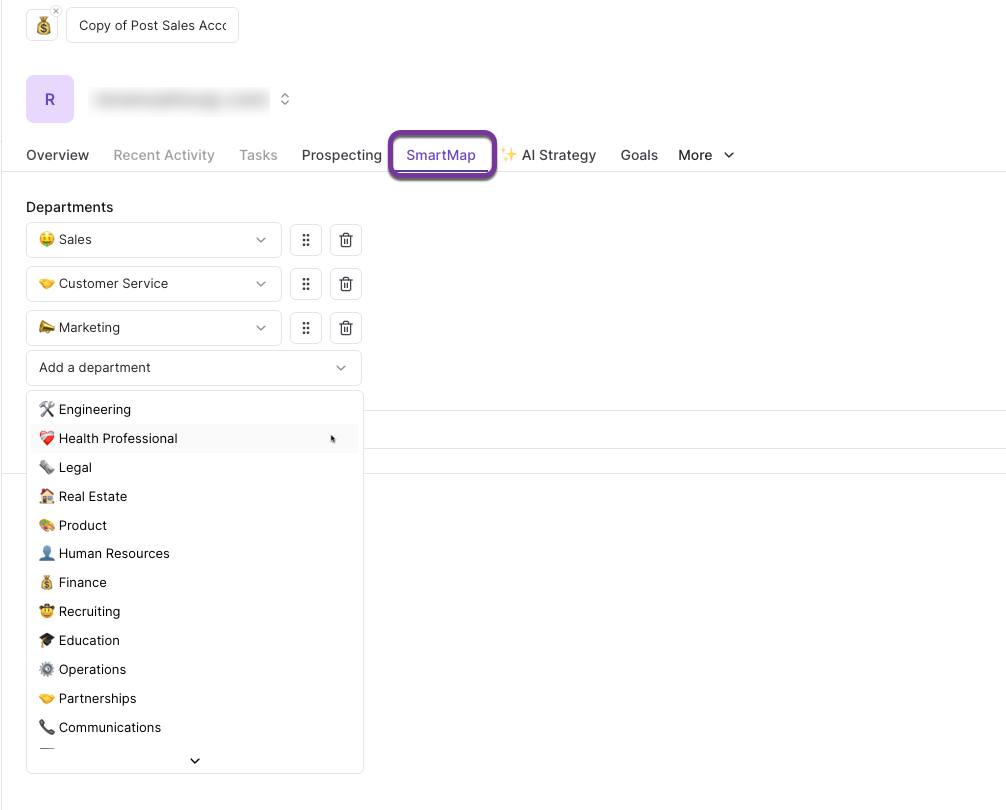
Configuring the Departments Presented in the SmartMap
You can have up to four departments configured.
To configure what departments are presented:
-
Go to Workspace Settings > Drilldowns
-
Locate the Company or Account Drilldown and select the pencil icon to edit
-
Select the SmartMap tab. From here you can choose departments from the predefined list. You can have up to four departments configured. Any users who do not qualify for one of the configured departments will fall under a department of "Other".
-
Click Save in the upper right corner of the Drilldown editor to save your changes.
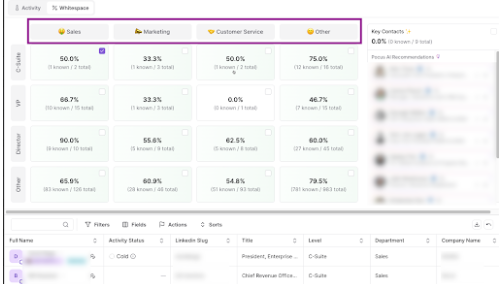
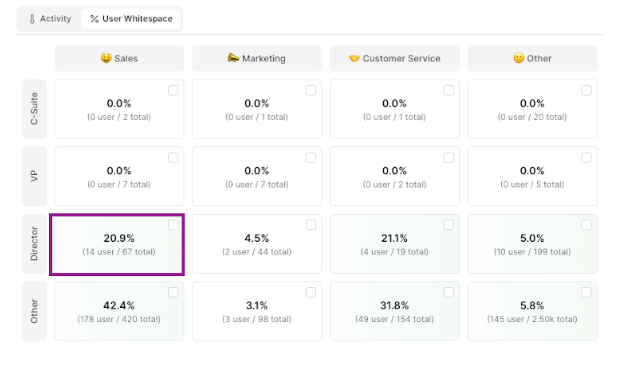
Configure Whitespace Map
For SmartMap’s whitespace view, you can customize how Pocus calculates the percentage of known vs. total people in each department. Specifically, you can define:
-
Numerator (Known People): The field or logic that determines who should count as known to your team (e.g. exists in CRM, is a product user, has a specific role).
-
Denominator (Total People): The population you want to compare against (e.g. all employees at the company, all users in a department).
This lets you tailor the whitespace calculation to match your go-to-market strategy — whether you want to highlight CRM coverage, product adoption, or team-specific gaps.
By default, we count people as Known if they exist as Users or Contacts/Leads in your CRM or DWH.
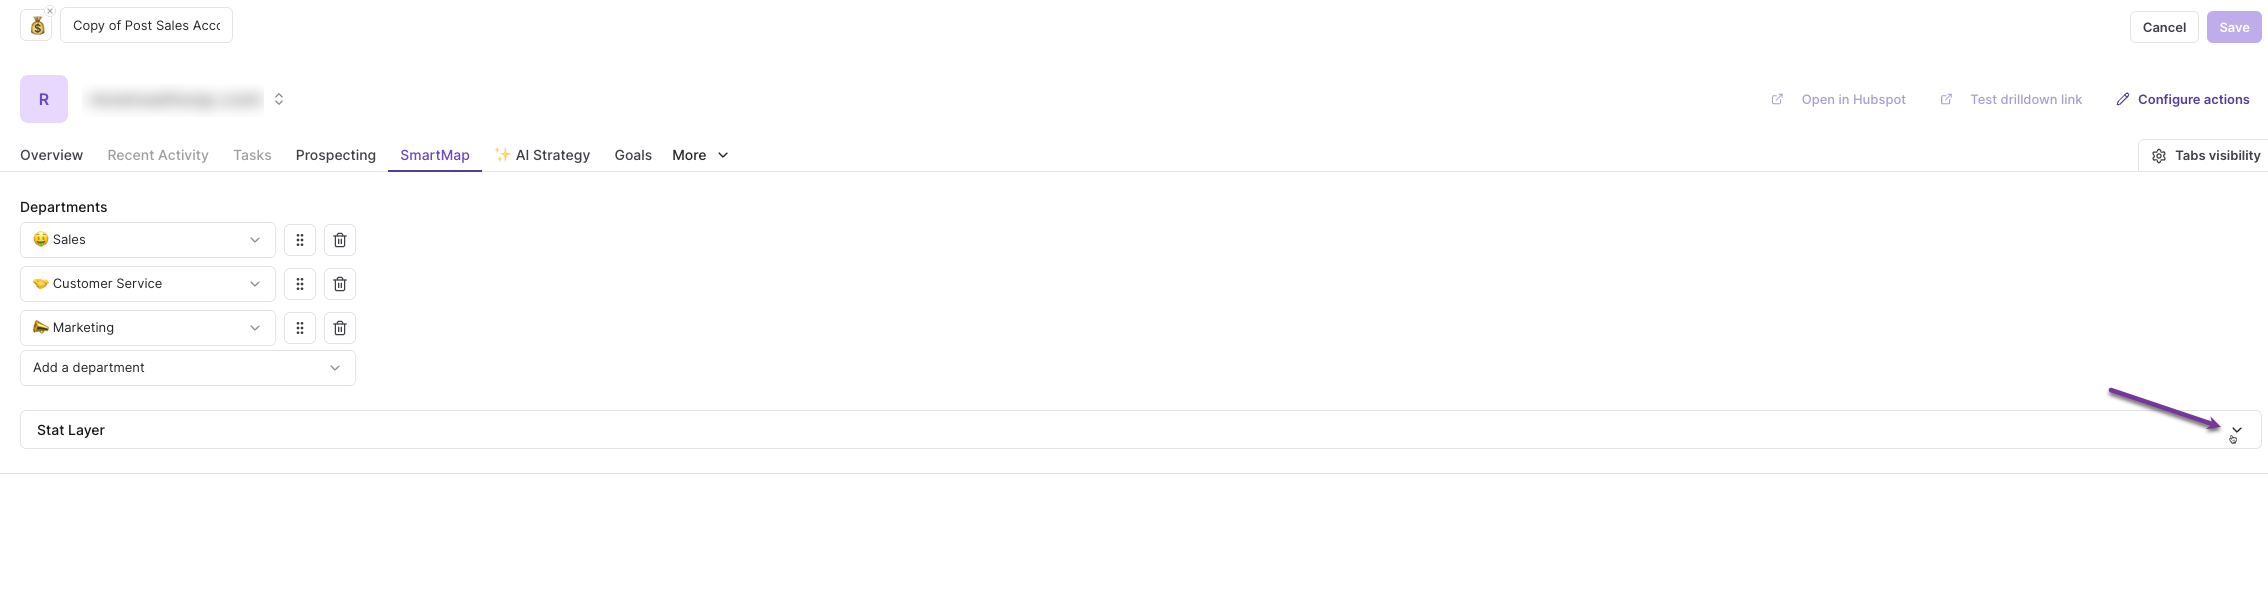
If you use custom logic to define this (e.g. only MAUs), we can adjust the Pocus configuration to match:
-
Go to Workspace Settings > Drilldowns
-
Locate the Company or Account Drilldown and select the pencil icon to edit
-
Select the SmartMap tab. Select the dropdown for Stat Layer
-
Set the radio button to Custom. You can then add filters under the Numerator section to define what should count as a "Known" user/contact

-
Click Save in the upper right corner of the Drilldown editor to save your changes.
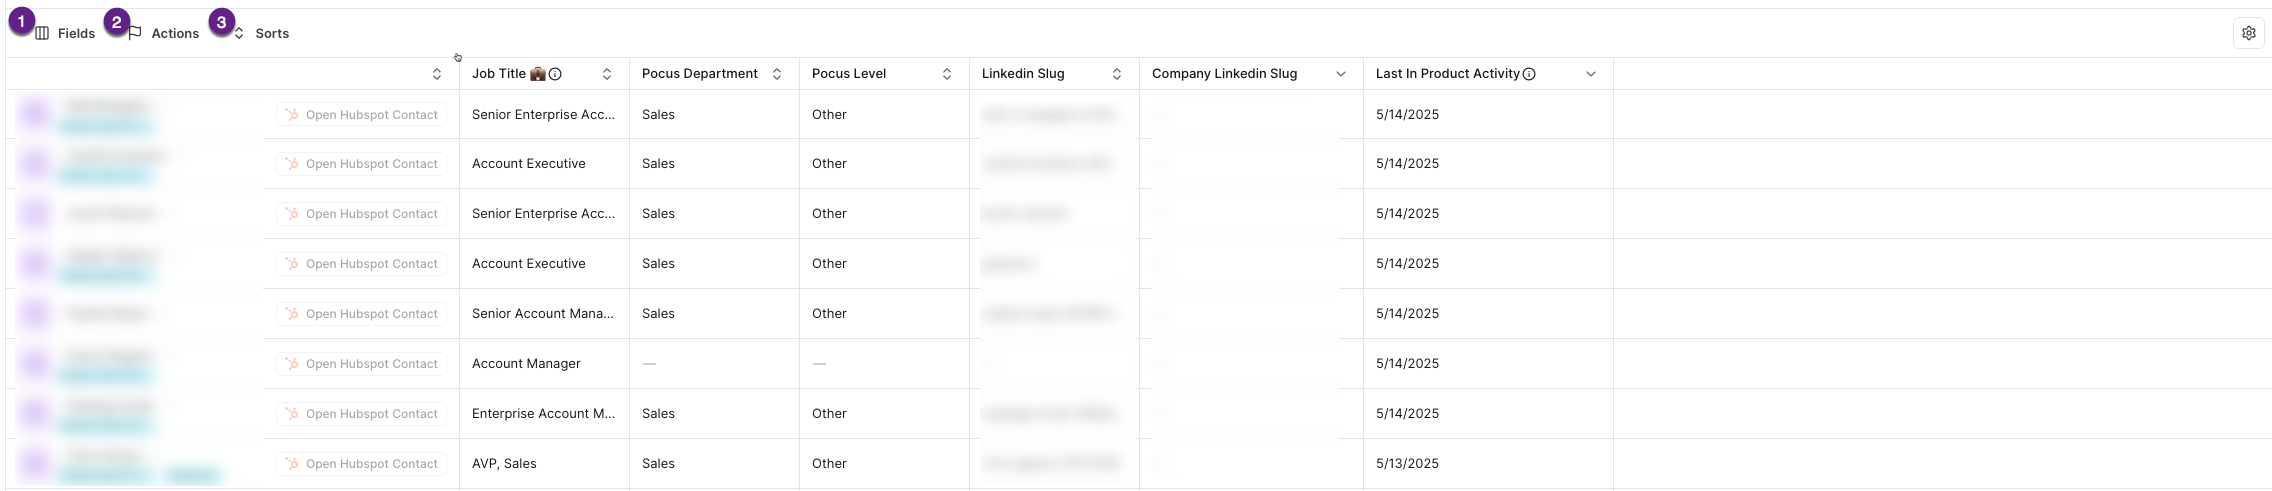
Configure Prospecting Table
You can adjust the fields and actions presented in the prospecting table. To access these configurations:
-
Go to Workspace Settings > Drilldowns
-
Locate the Company or Account Drilldown and select the pencil icon to edit
-
Beneath the Stat Layer you will see the Prospecting Table
① Use the Fields drop down to add or remove the fields displayed
② Use the Actions menu to add actions to the Prospecting table (such as Open in Outreach, etc) ③ Use the Sort menu to automatically sort the results based on a particular field