Postgres
Learn how to pull in data to Pocus from Postgres
Creating a Pocus user in Postgres
We'll need to create a new user in Postgres for Pocus to use. You will need to connect to Postgres with a SQL client as an admin user to run these commands.
We recommend using the following commands to create a read-only user for Pocus. Note that you will have to replace the following values:
<table>should be replaced with the name of your Postgres table(s)<schema>should be replaced with the name of the Postgres schema that Pocus should use<password>should be replaced with a randomly generated password (which you will need later)
You can modify the GRANT statements to limit the scope of Pocus permissions, or optionally choose to give Pocus access to all tables for the given schema(s). Examples of both commands are provided below.
-- Create a new user for Pocus
CREATE USER pocus_postgres_svc_acc WITH PASSWORD '<password>';

-- Grant access to the Pocus user to access the schema (always required)
GRANT USAGE ON SCHEMA <schema> to pocus_postgres_svc_acc;

-- Option 1: Grant the Pocus user read-access to all tables in the schema
GRANT select ON ALL TABLES IN SCHEMA <schema> to pocus_postgres_svc_acc;

-- Option 2: Grant the Pocus user access to specific tables (repeat as necessary)
GRANT select ON TABLE <schema>.<table> to pocus_postgres_svc_acc;
Setting up the Postgres connection in Pocus
- First, prepare a Postgres Connection String that Pocus can use to access the Postgres cluster.
The connection string should have the following format: postgresql://[user:password@][netloc][:port][/dbname][?param1=value1&...]
The following examples (from the Postgres documentation) illustrate valid syntax for the connection string:
postgresql://localhost
postgresql://localhost:5433
postgresql://localhost/mydb
postgresql://user@localhost
postgresql://user:secret@localhost
postgresql://other@localhost/otherdb?connect_timeout=10&application_name=myapp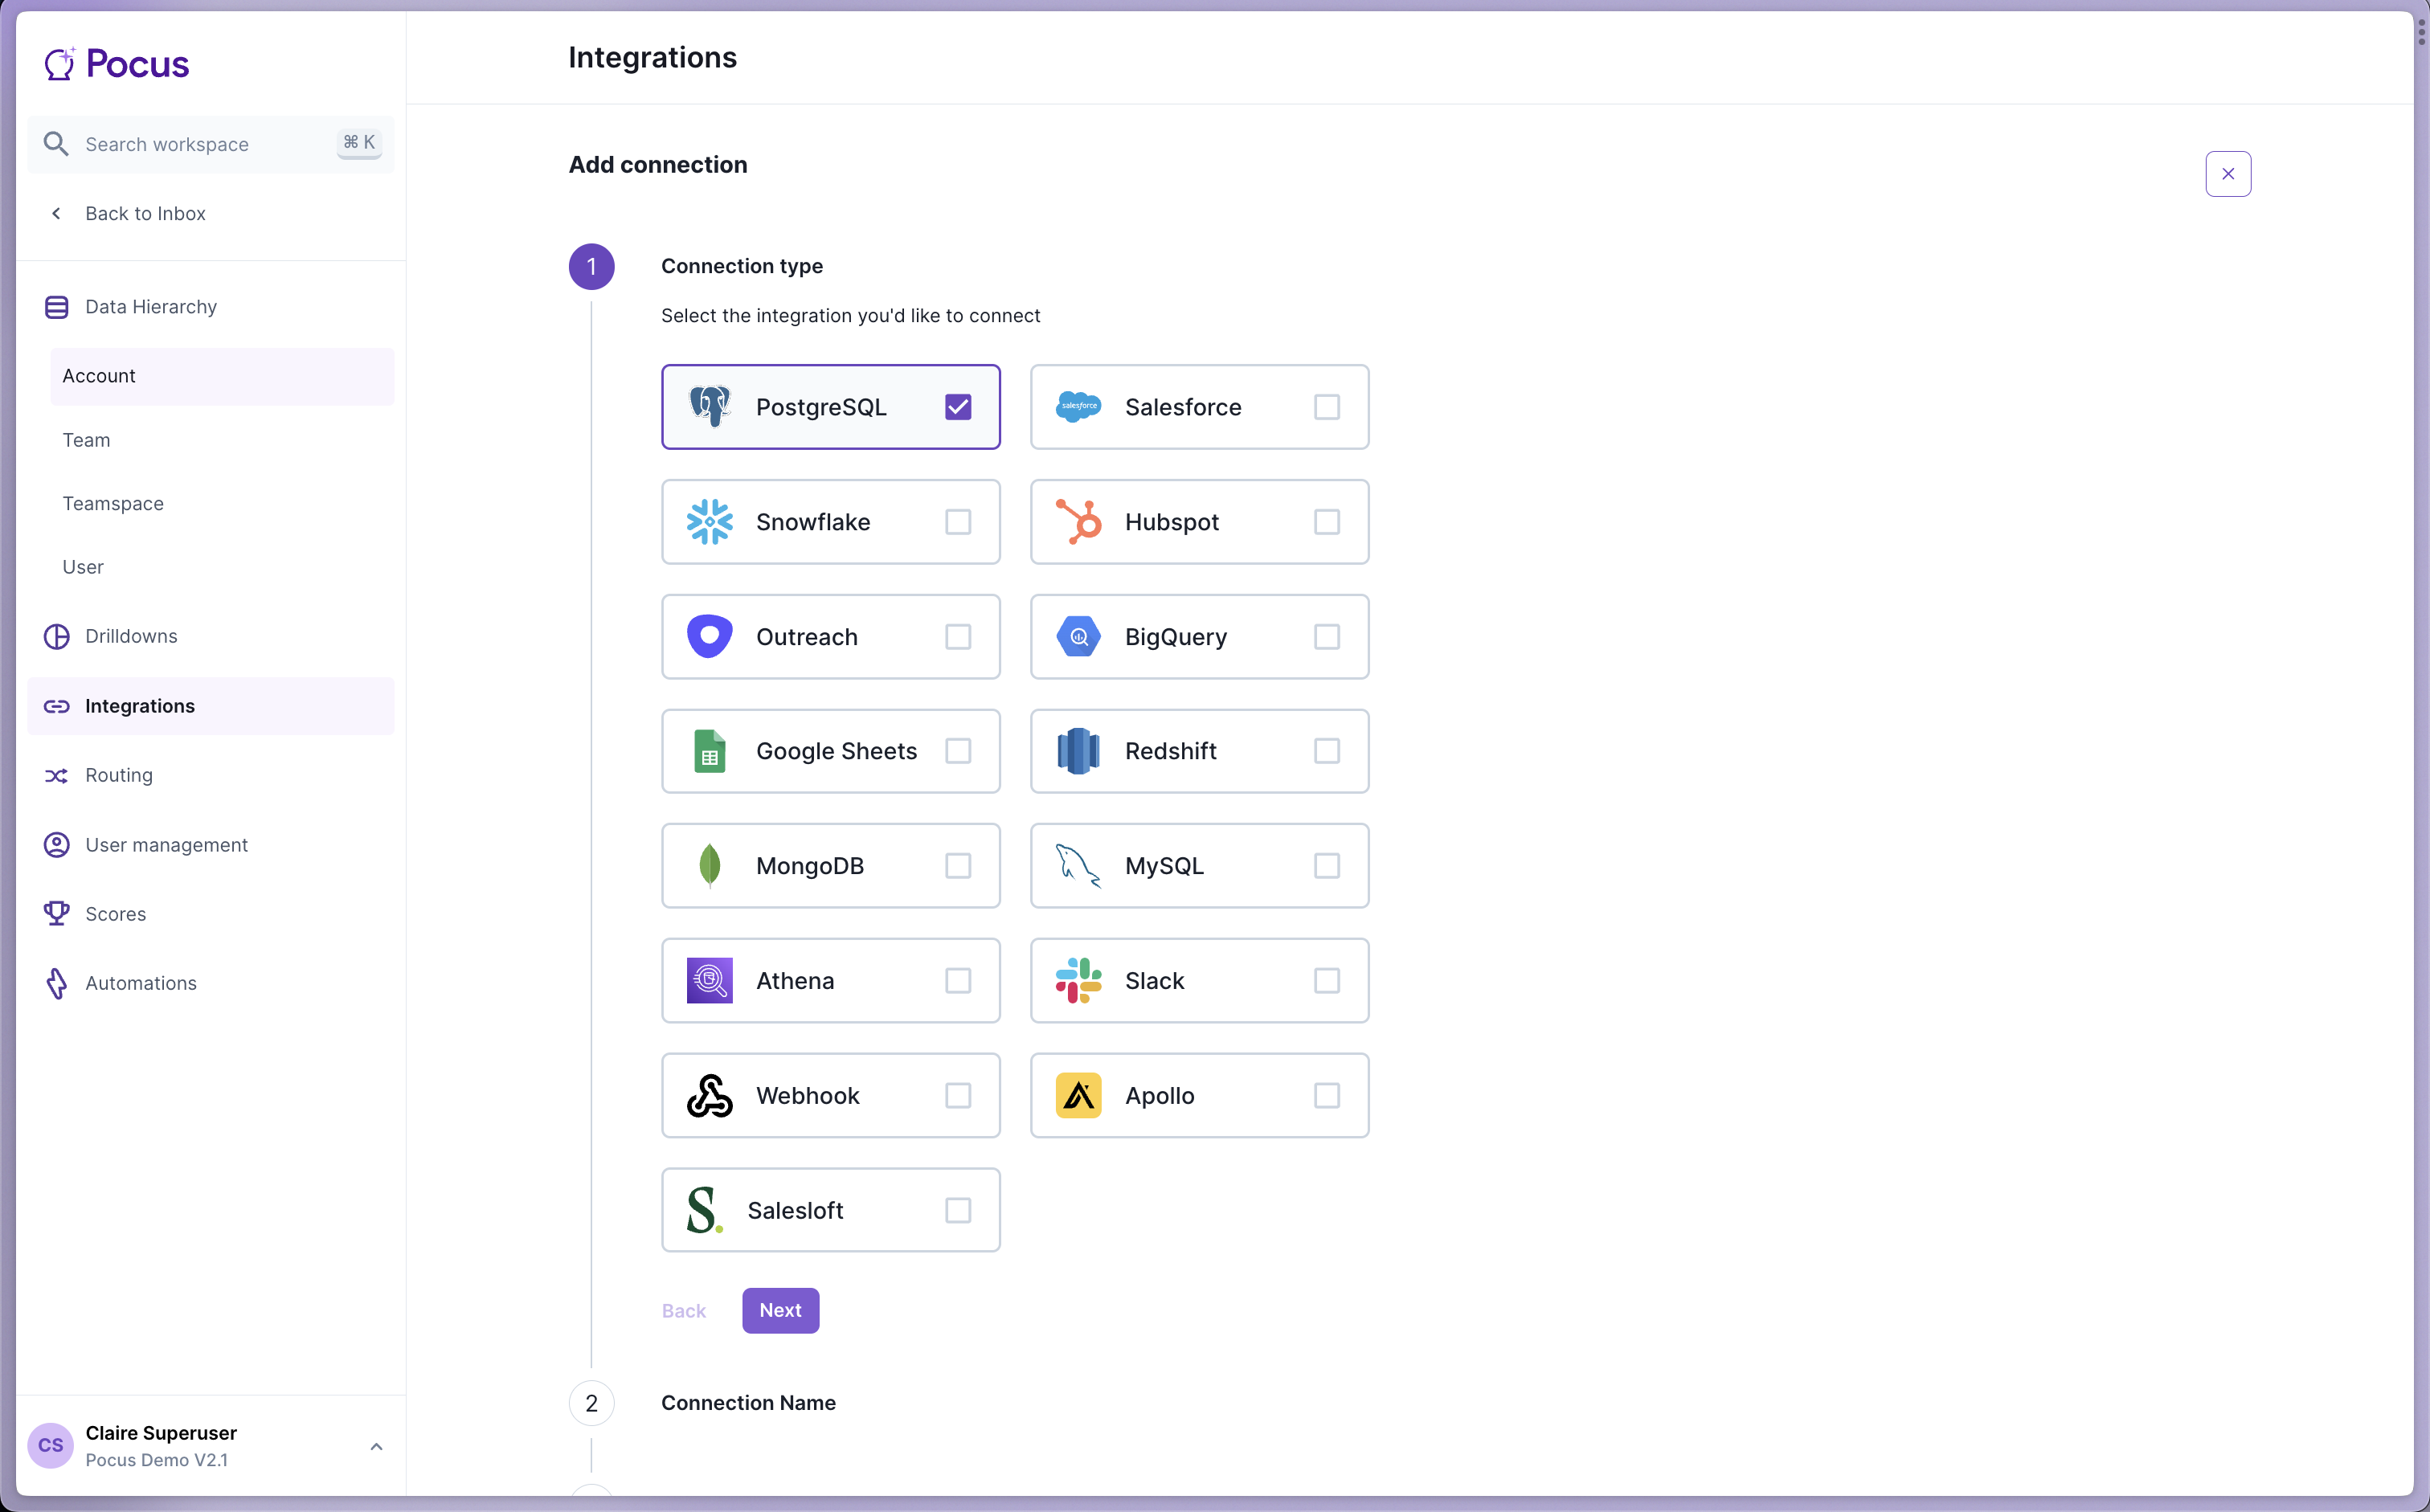
postgresql://host1:123,host2:456/somedb?target_session_attrs=any&application_name=myapp- Navigate to the Pocus Integrations Page and press Add a Connection

- Select the Postgres connection type and press Next
- Enter a name for this Postgres integration (something like
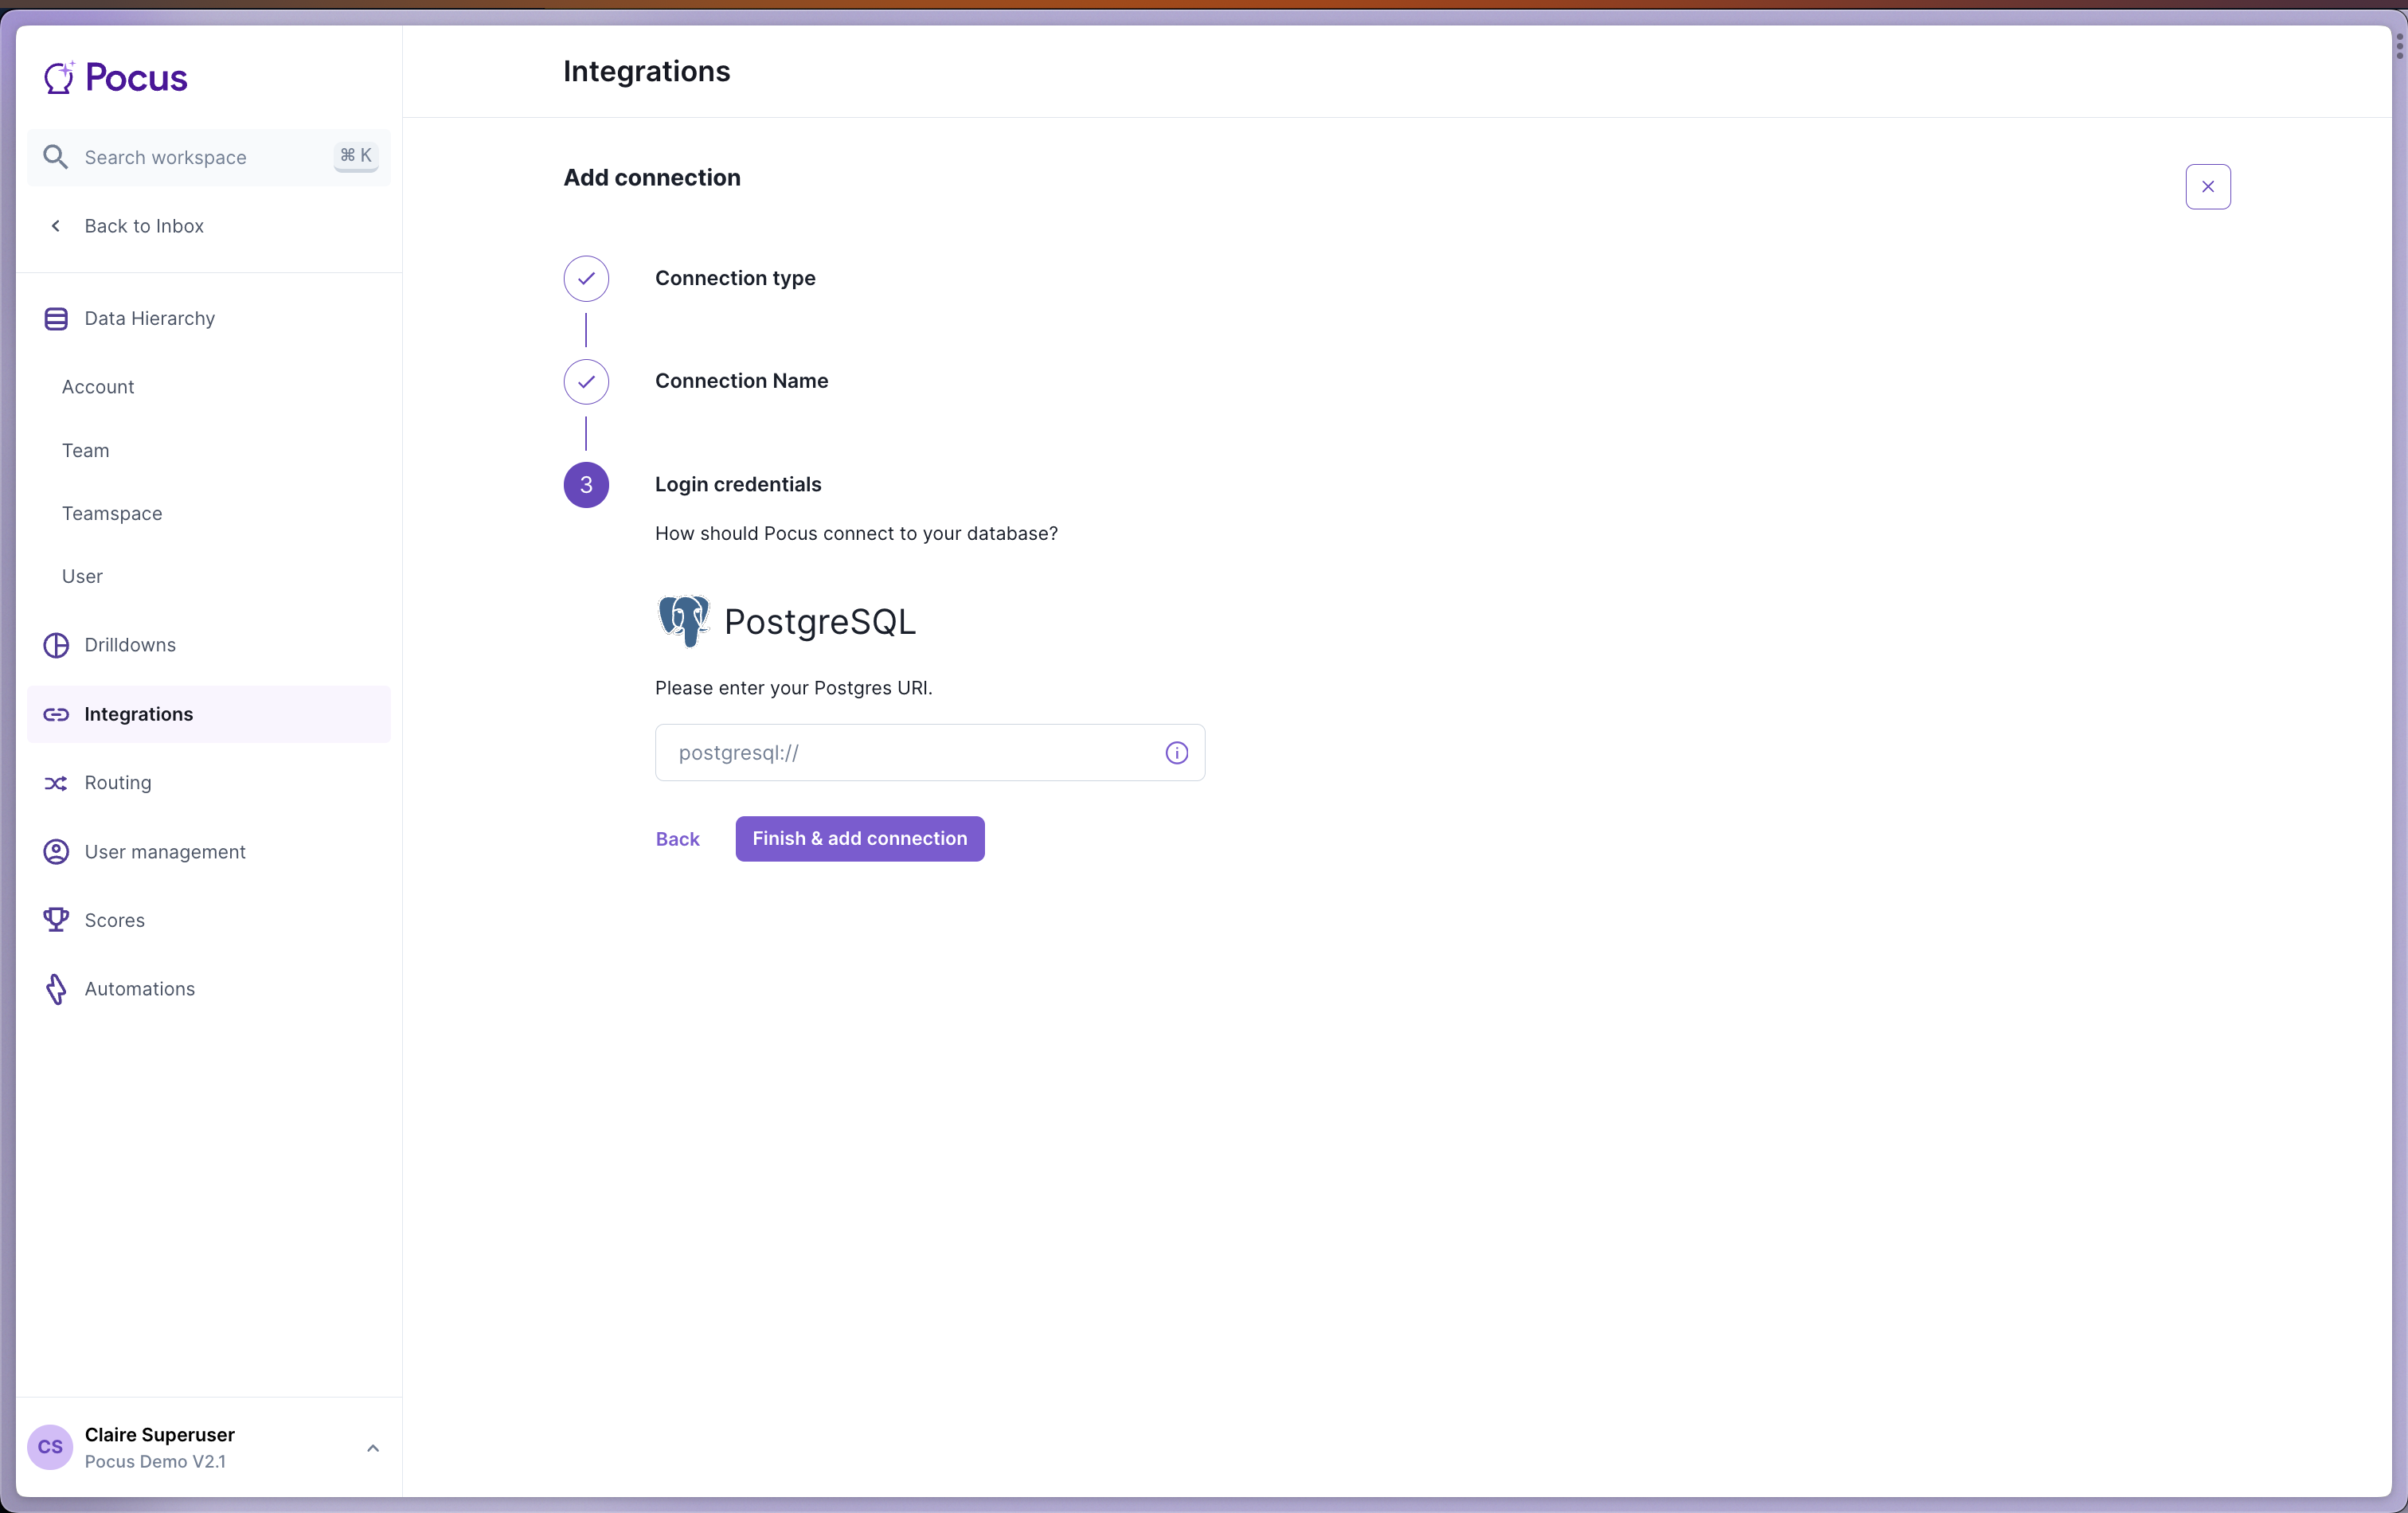
Postgresis fine) and press Next - Enter the Postgres Connection String you prepared in Step 1 and press Finish & add connection
IP WhitelistingThe dedicated IP for your workspace is provided in the credentials form. If required, ensure this IP is whitelisted as all queries will come from this IP.
Validating the Postgres connection with Pocus
- Navigate to the Pocus Integrations Page, and press the menu button next to the newly created Postgres connection.
- Press the Validate button
If the connection with Postgres is set up correctly, you will see a green notification at the bottom of your screen. If an error appears, please contact our team for assistance!
Note that timeouts often indicate a networking problem, so be sure to check your firewall settings to ensure that our data collector can access the Postgres instance.